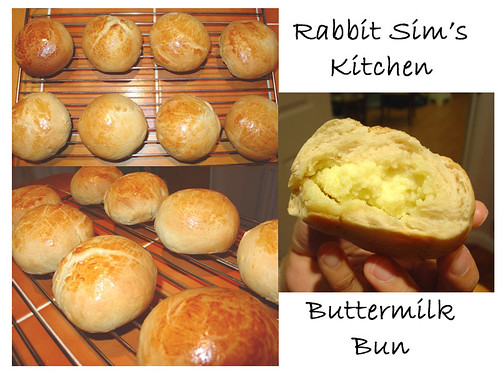
Ingredients:
'Soup' dough:
90g strong white flour
65g water
35g salted butter
5g sugar
Main dough:
210g strong white flour
56g cake flour
20g skimmed milk powder
42g castor sugar
1/2 tsp salt
6g instant dried yeast
30g whole egg
85g water
84g 'soup' dough
22g butter
Method:
For 'Soup' dough:
1. Put flour in a big bowl.
2. Put the remaining ingredients in a saucepan, heat under a low flame until simmering. Turn off heat and pour into 1. Stir with chopstick quickly.
3. Shape into dough and refrigerate for 24 hours.
For main dough:
1. Put all ingredients except butter in a big bowl (or in breadmaker, selecting dough function) in the order specified, knead into a dough. Add in butter and knead until smooth and elastic. Cover with clingfilm.
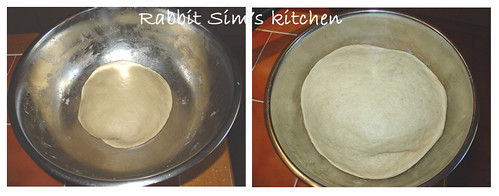
2. Prove for about 40 minutes or until dough has increased twice or three times it's original size, see picture 1 below. (I put it in oven and sit it above a baking tray filled with hot water)
3. When ready, punch into the dough to let air escape. Divide into about 60g (9) small balls. Roll into balls and prove for another 10 minutes.
4. Flatten dough and put filling. Roll back into ball. Put on baking tray and prove for another 40 minutes or until it is twice it's original size. See picture 2 below.
5. Bake in 180°C oven for 15 minutes.
Filling:
70g butter
30g icing sugar
1/8 tsp salt
30g whole egg (about half)
1 tbsp cornflour
80g skimmed milk powder
Method:
1. Cream butter, sugar and salt until creamy.
2. Add in egg in batches mixing well each time.
3. Put in cornflour and skimmed milk powder, mix well with rubber spatula.
Picture 1
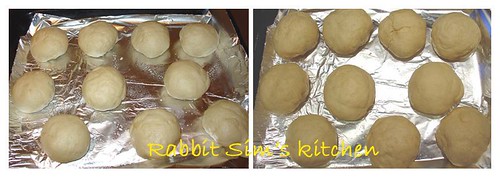 Picture 2


.JPG)